Tonight I have a tutorial for making Lollies or Medallions! Last week I happened to visit Sage Kimble's blog and she had a video tutorial. After spending almost all week end making Lollies, I guess you can say I'm addicted! They are so much fun to make.
Sage it's all your fault. lol
Not really, but they are addictive. I haven't attempted to make a video yet so I thought I would share my ideas and a tip or two I learned from Sage. Here is my wreath hanging on my Studio Wall.
Lollies Tutorial
I used a variety of designer series papers and card stock, buttons, punches and Pumpkin Pie 1 1/4" Striped Grosgrain Ribbon, retired.
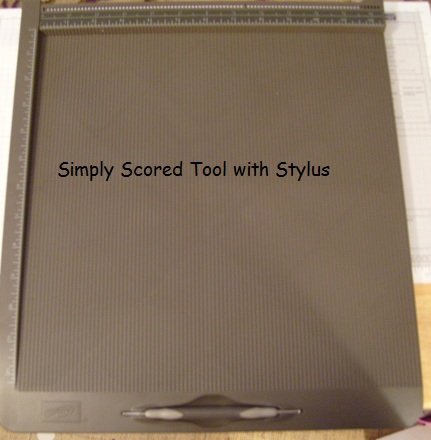
Stampin' Up! new Simply Scored Tool made making the lollies so much easier. Simply Scored come with a stylus, 6 place markers and a drawer to store the stylus, markers and a bone folder.
 |
| The longest piece of paper is before I used the Simply Scored Tool. The piece above is after I have scored the 12" x 1 1/2" designer series paper. |
 |
| Here I have turned the scored piece over and placed a piece of Sticky Tape on one end. When the paper is held up the Sticky Tape is on a scored section that faces down. When attaching it to the other end, the other end needs to be facing up. |
 |
| Here is the circle of designer series paper attached by Sticky Strip |
 |
| To make it easier to glue with a hot glue gun, Sage shared that she uses a lid that is approximately the same size as the Lollie.I placed the side down that I wanted to show when finished. As I hold down the circle of paper, with a glue gun, place a rim of glue around the inside circle. By careful not to burn your fingers or get any glue down in the hole. Place a circle on top of the glue and hold it down until it cools. |
 |
| Here you can see where I turned the Lollie over. You are looking down inside of the Lollie. You can choose a variety of ways to cover the hole.On the bottom is where I placed the glue and a 1" circle of card stock. |
 |
| I turned the Lollie over an used a 1" circle of Real Red card stock and punched a Very Vanilla flower from the Boho punch. I topped it off with a Early Espresso Designer Button. |
 |
| Here is my finished Lollie. I made a Christmas tag by adhering the Lollie to the Early Espresso card stock and tying a bow using 3/8" Real Red Taffeta Ribbon. Again, here are Sage's tips: Sage uses a low temperature glue gun and a lid that is close to the same size as the Lollie. I tried to make them both ways, and using the glue gun and lid makes it much easier and faster. I apologize for the fuzzy photos, I had trouble with my camera tonight. This is the first time I have typed any information on the photo itself and I can see I need to work on that too. I hope you enjoyed the Tutorial and will give making Lollies a try. | | |
| Thanks for stopping by | ! | | | Happy Stamping! | | | | Jane |
|
If you want to give Lollies a try, you can find the Simply Scored Tool, Designer Series Papers, Buttons and Brads at my Stampin' Up! store. http://janegiggy.stampinup.net


Love it! Did you plan a color scheme or just make them and see how it turned out? Are they all the same size or different sizes? How many did you make and what did you use for the frame? I'm very close to making a wreath for Christmas.
ReplyDelete